Authoring and editing articles for our blog works by creating simple text files. Well, it’s not exactly as simple as that, which is why you’re here to learn how it’s supposed to work, right? :)
We’re going through the minimal workflow first, and then discuss more advanced topics like embedding images or other resources.
If anything doesn’t work, please ask for help at our Slack or GitHub! You can also find some help in the official Hugo documentation, which is our website generator.
Where to Start
Log in to GitHub if you’re not already authenticated. Open the blog’s source repository at github.com/europace/tech-blog.
Creating a New Article
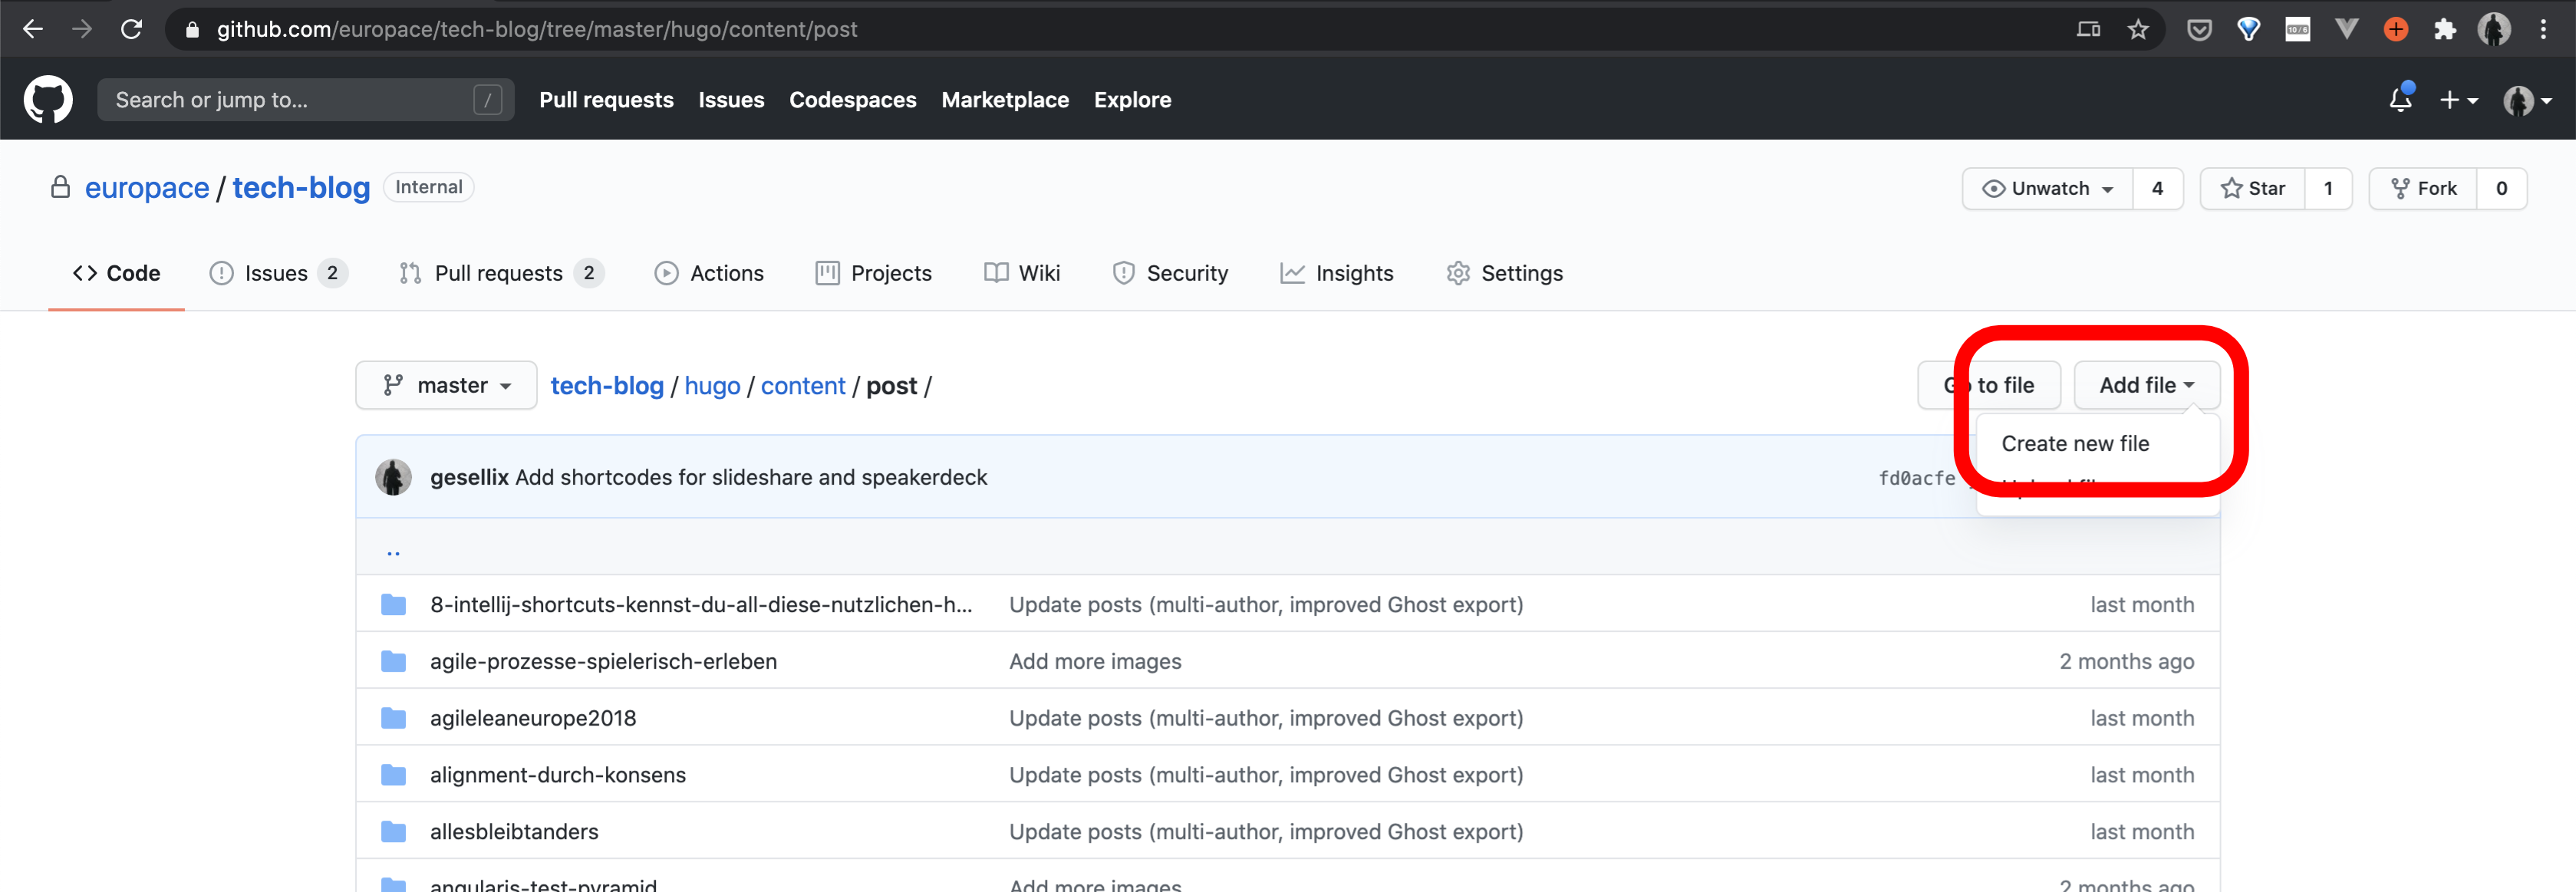
Navigate to the hugo/content/post subdirectory, where you can Add file -> Create new file:
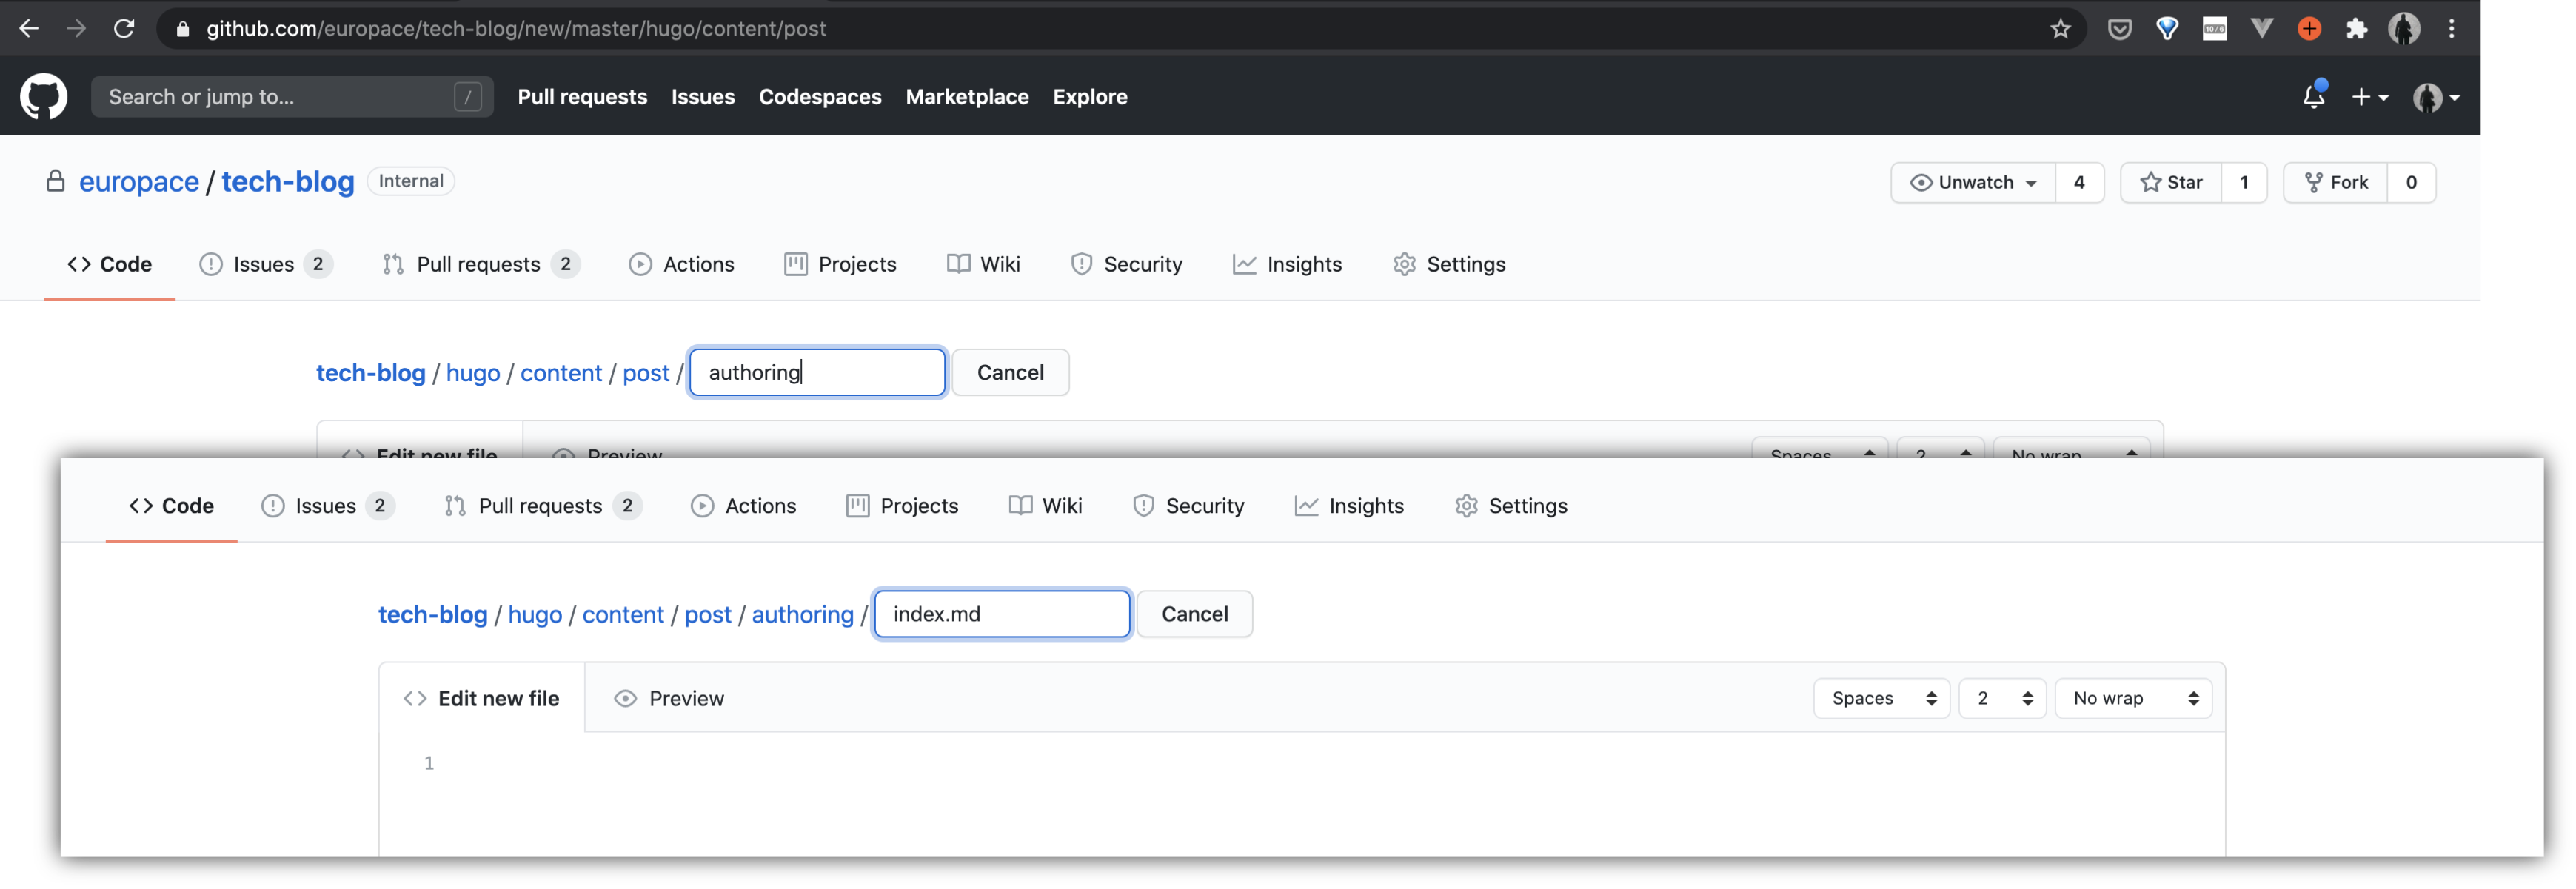
Enter a new name for a new subdirectory, then a slash /, then index.md.
The subdirectory helps to organize your article along with its resources like images or downloads.
The subdirectory name should contain only lowercase letters and dashes “-”.
Then you can enter the article content. Some metadata, so-called frontmatter, is necessary for seamless integration in our framework.
The frontmatter is surrounded with triple --- and consists of several fields like the article title and a short description:
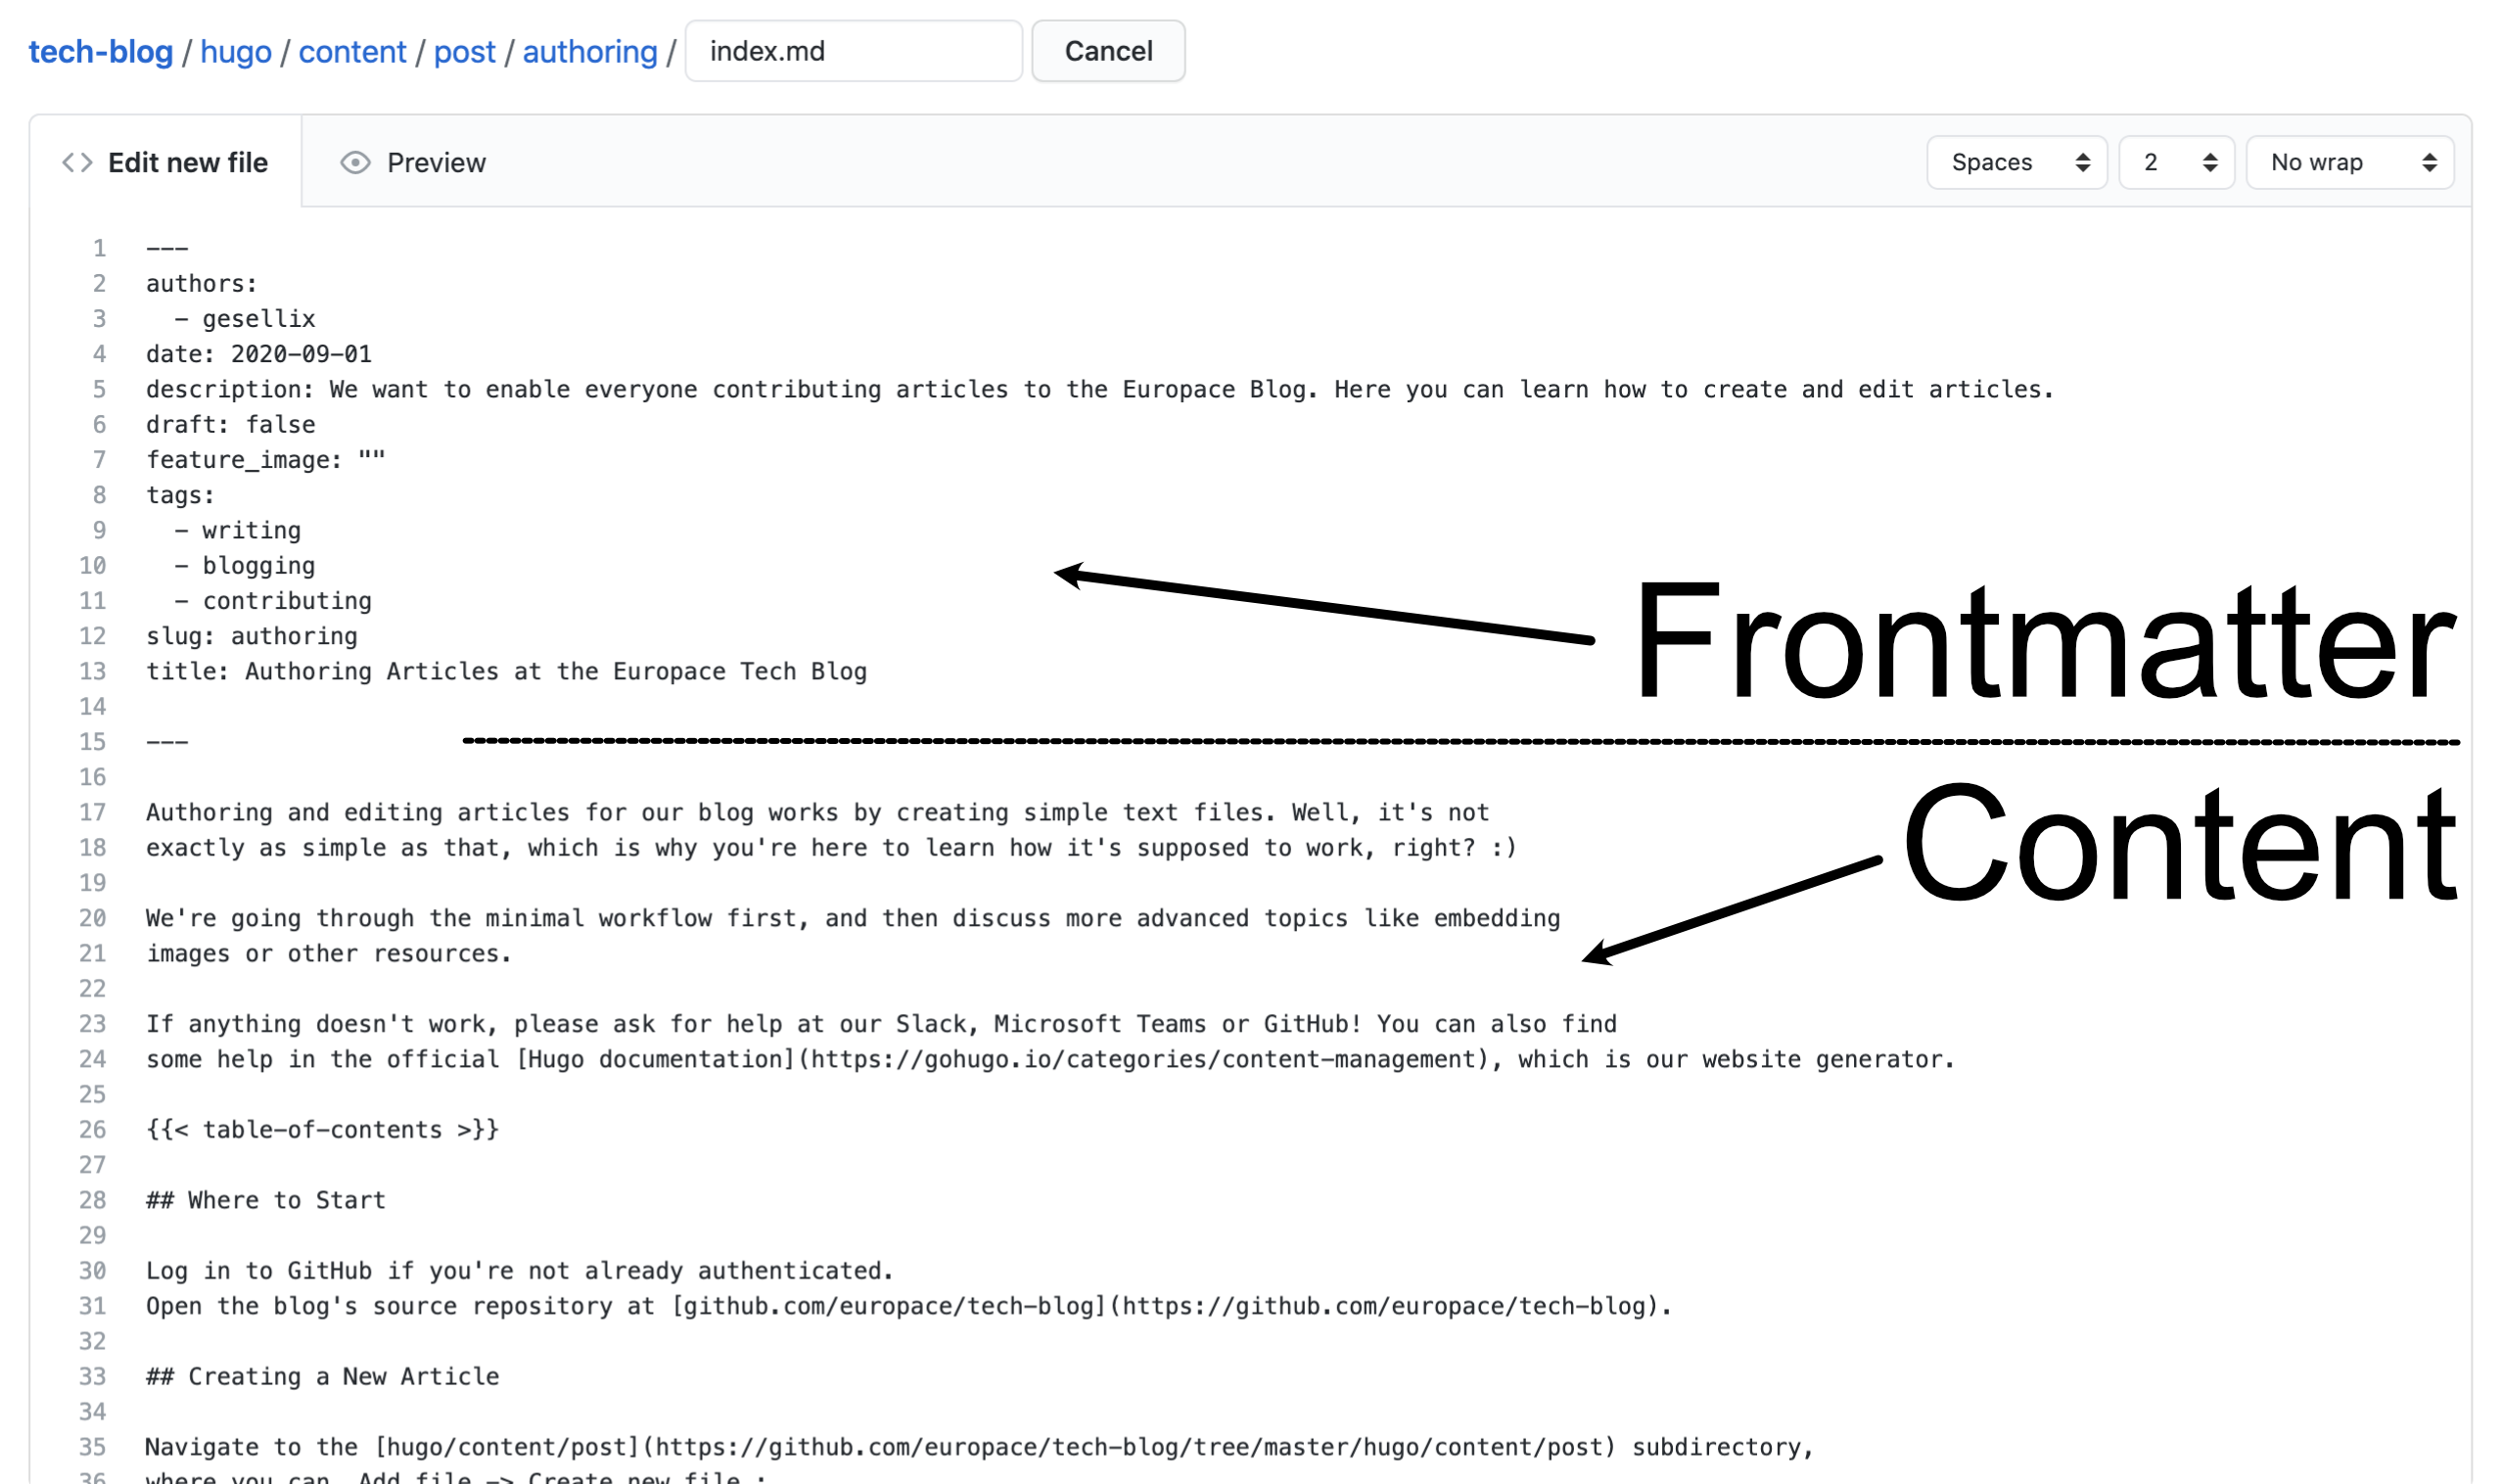
We’ll go into detail about the frontmatter later.
You should use Markdown syntax, and you can use the Preview button above the content to get a basic impression of your article. If you want to learn Markdown, there’s an interactive tutorial at markdowntutorial.com to learn everything you need.
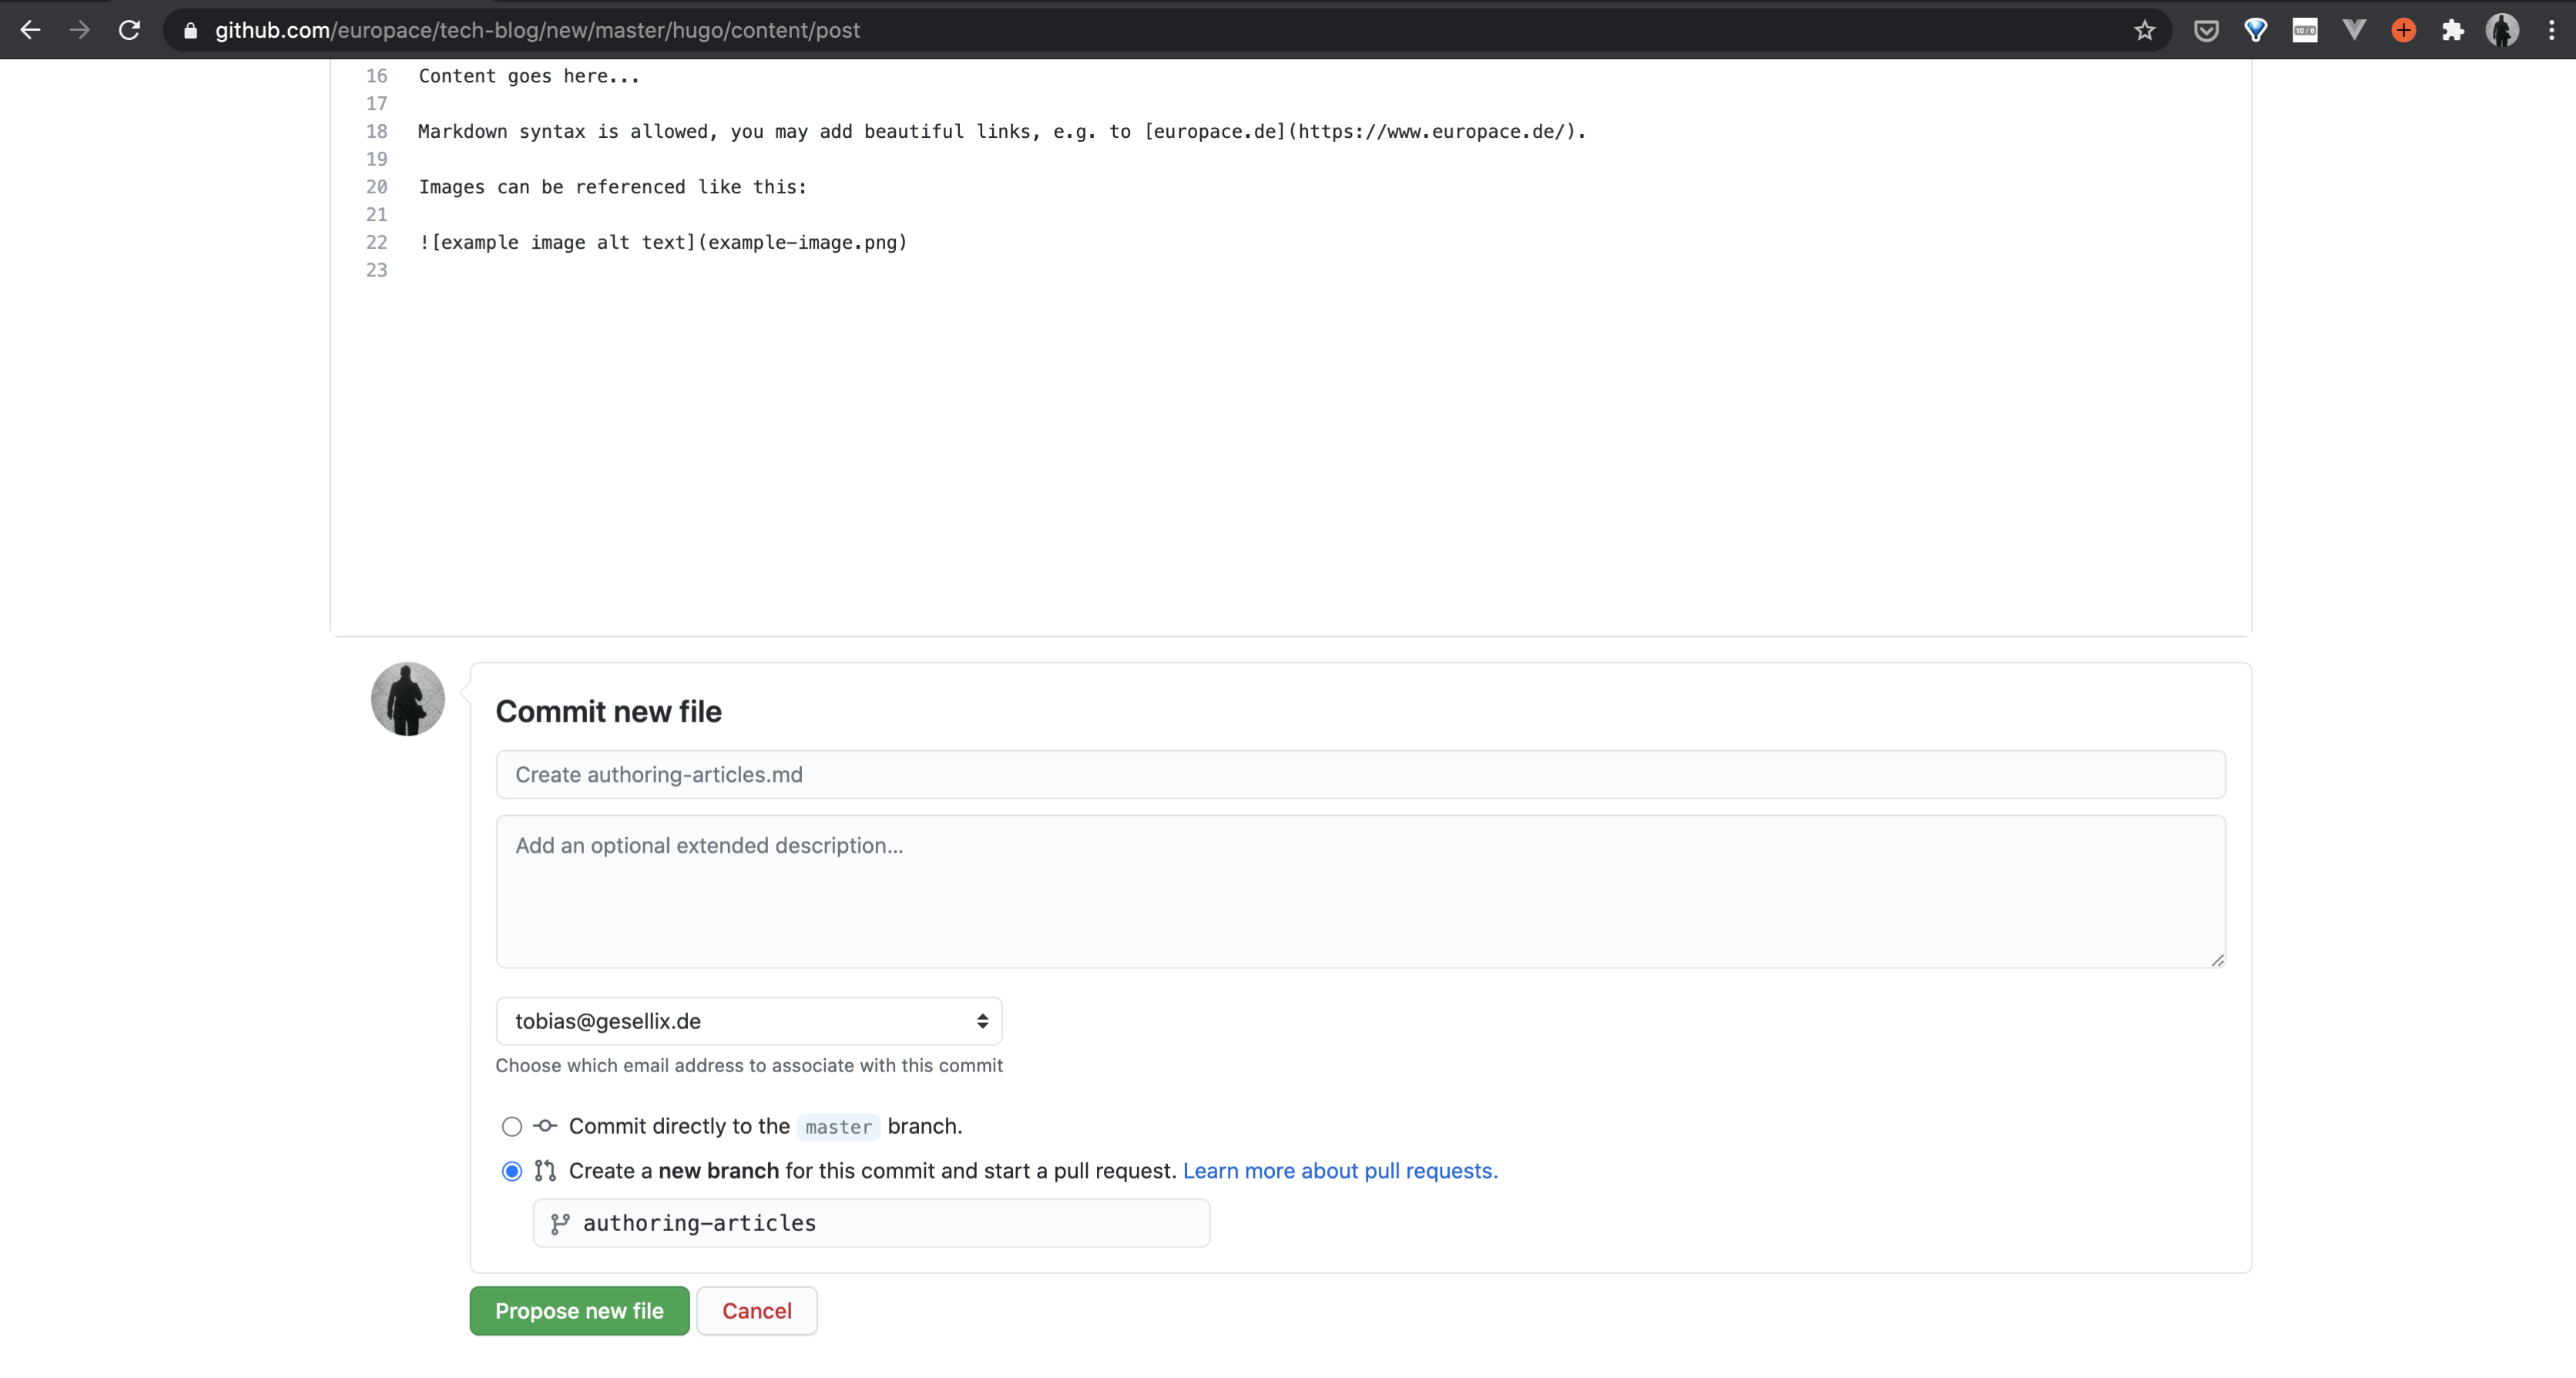
When you’re happy with your article and want to save it, please scroll down to the Commit new file section. Some defaults are already provided. Please ensure that you select Create a new branch for this commit … before you click on Propose a new file. If creating a new branch isn’t available for you, please select Fork….
Images and Downloads
You can use publicly available images from a service like Unsplash to spice up your article. If you want to use your own images or don’t want to use external links, you’ll have to upload them to this repository first.
We’ll show you both options, starting with the easiest one.
Hint: you can use an image as feature_image in your article’s frontmatter. Those images will be used in lists and as
header image of our articles.
Adding Images and Downloads
Including images via Markdown syntax is the easiest way by copying the image url and wrapping it in those beautiful brackets:

If you need a clickable image you’ll have to use even more of those beautiful brackets. The following example shows you how you can redirect users to another document, an image with better resolution, or to another website:
[](https://unsplash.com/photos/IuLgi9PWETU)
The result looks like this:

Uploading Own Resources
Images can be huge and contribute most to the required bandwidth of our website’s visitors. Hugo can help to reduce the image size by preprocessing images. That doesn’t work completely transparent for us, though, because we have to download the image and save it along with the article in our repository. We also have to replace Markdown syntax with a dedicated Hugo syntax.
This part of our guide has not been finished, yet. Please contact a Codeowner or leave a comment in your pull request.
Hugo’s figure Shortcode
The special syntax uses a so-called shortcode and gives us some additional features.
Let’s look at an example like this written in Markdown:
We should change it to the following shortcode:
{{< figure src="photo-1499080863200-1f37ed9cb653.jpeg"
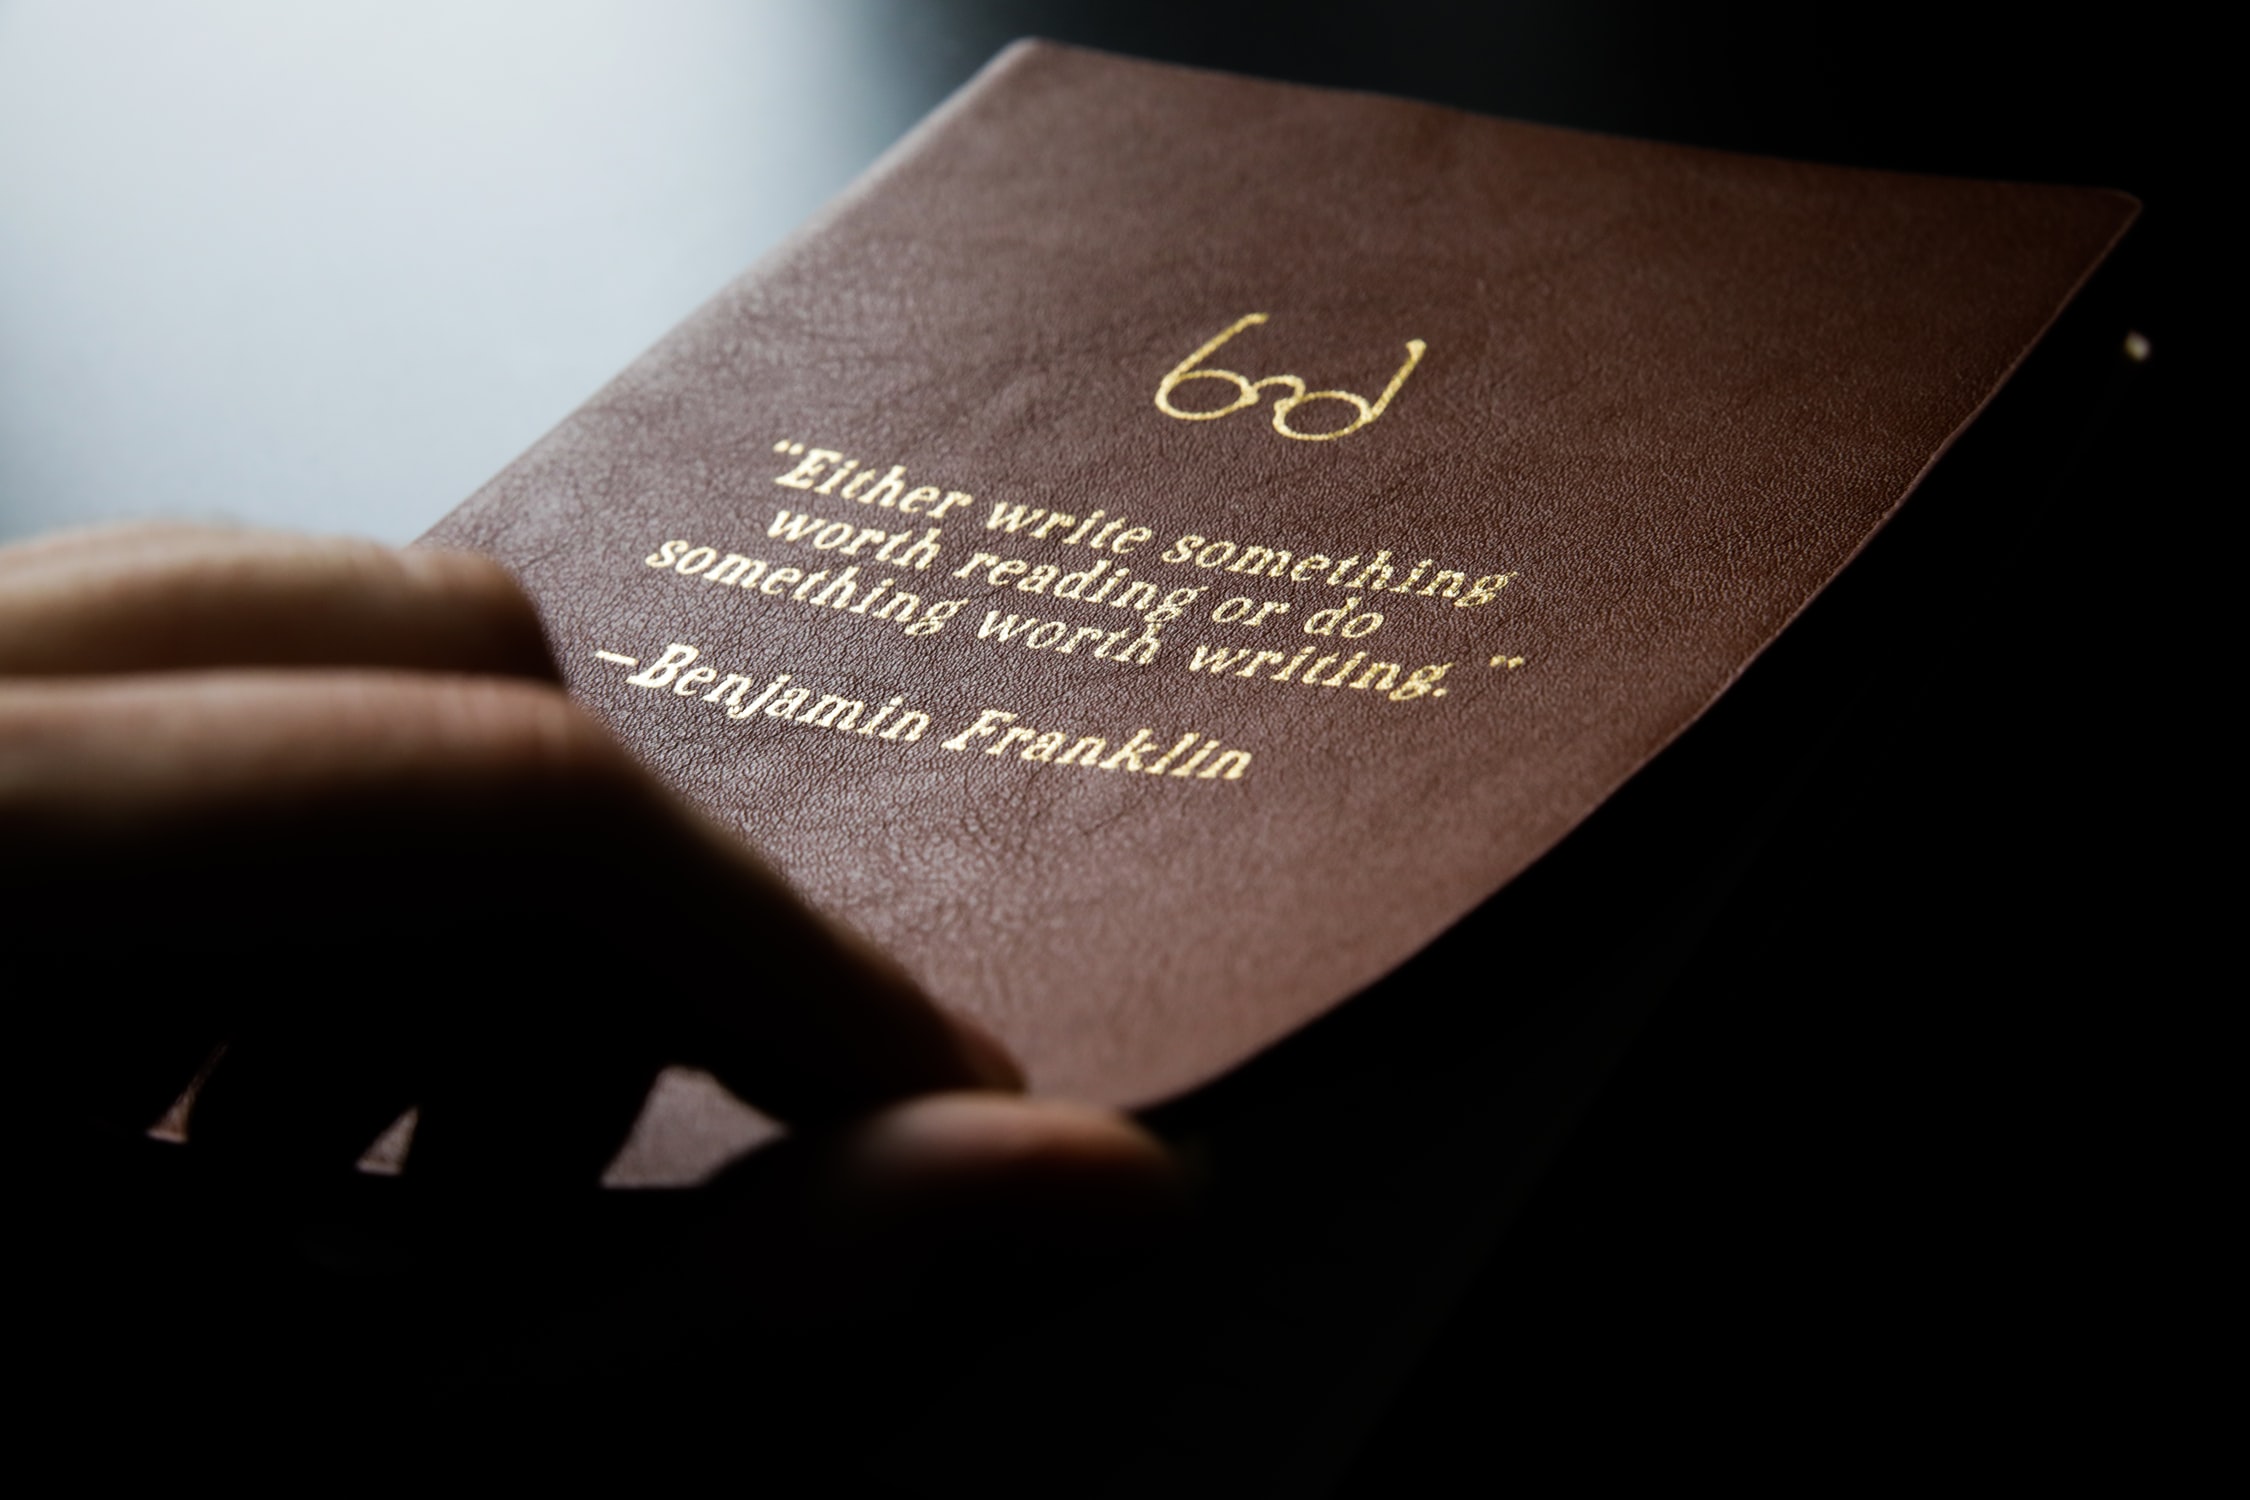
caption="Benjamin Franklin Book"
attr="Photo by Mona Eendra"
attrlink="https://unsplash.com/photos/NZNFY_g6ong" >}}
As you see, we didn’t only set the src parameter with our image filename, but added some attribution to give the
photograph their credit.
The result will look like this:

Benjamin Franklin Book Photo by Mona Eendra
Several options are available, like width and height. You can find more details
in the documentation for Hugo’s Shortcodes.
Previews, Reviews, and Publishing
Nobody is perfect - which is why we rely on reviews before publishing content. Your article is now available for others to leave comments and find your little typos.
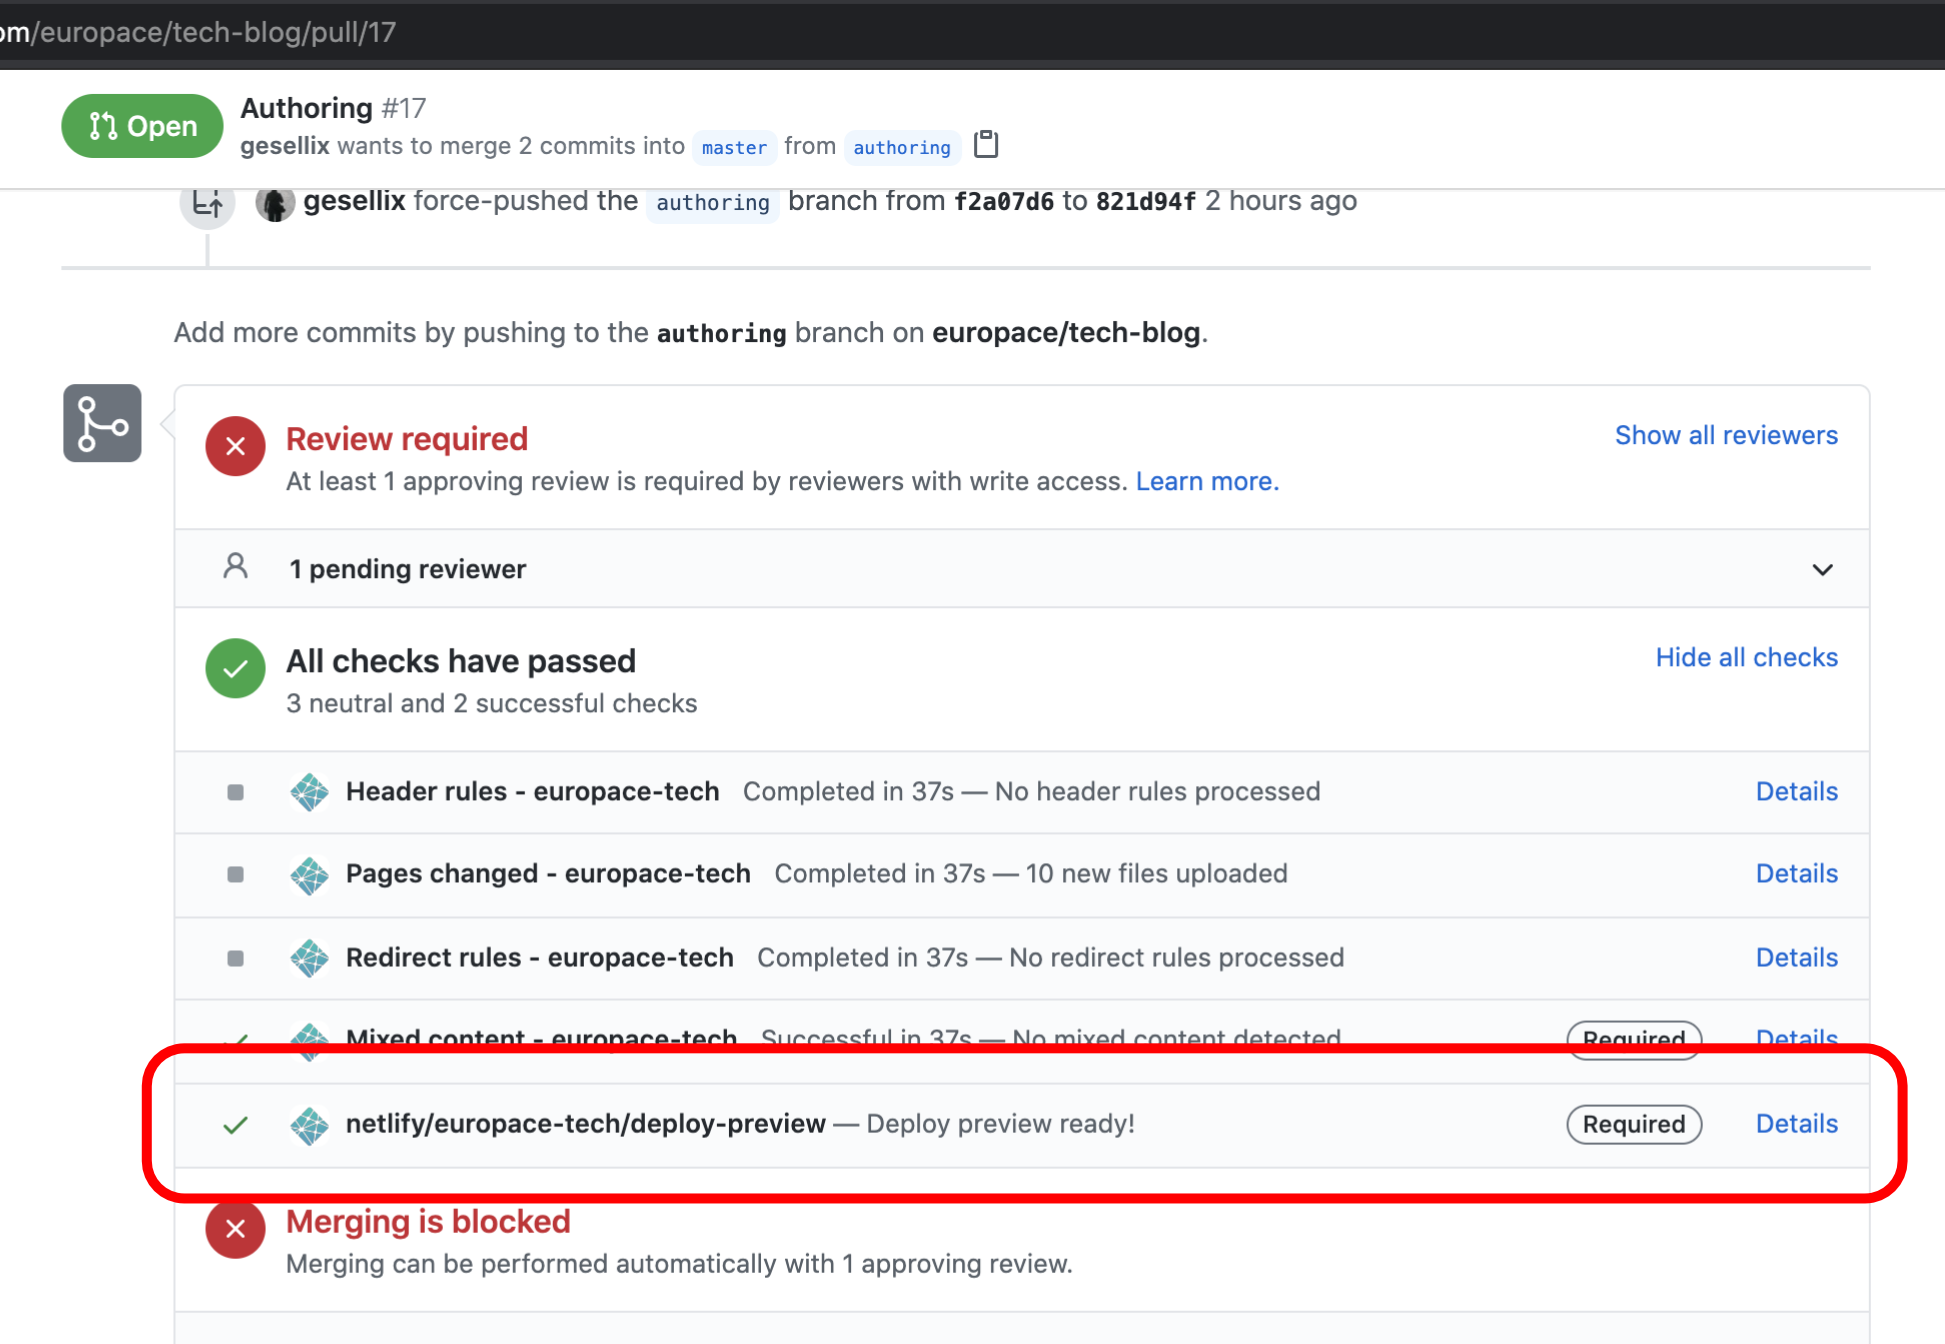
Reviewing the plain Markdown text is only one option. If you look closely at the end of your pull request, you’ll see an area with several checks by the Netlify platform. Apart from the sanity checks, Netlify provides a true preview of your article at Details as soon as the checks tells you “Deploy preview ready!”:
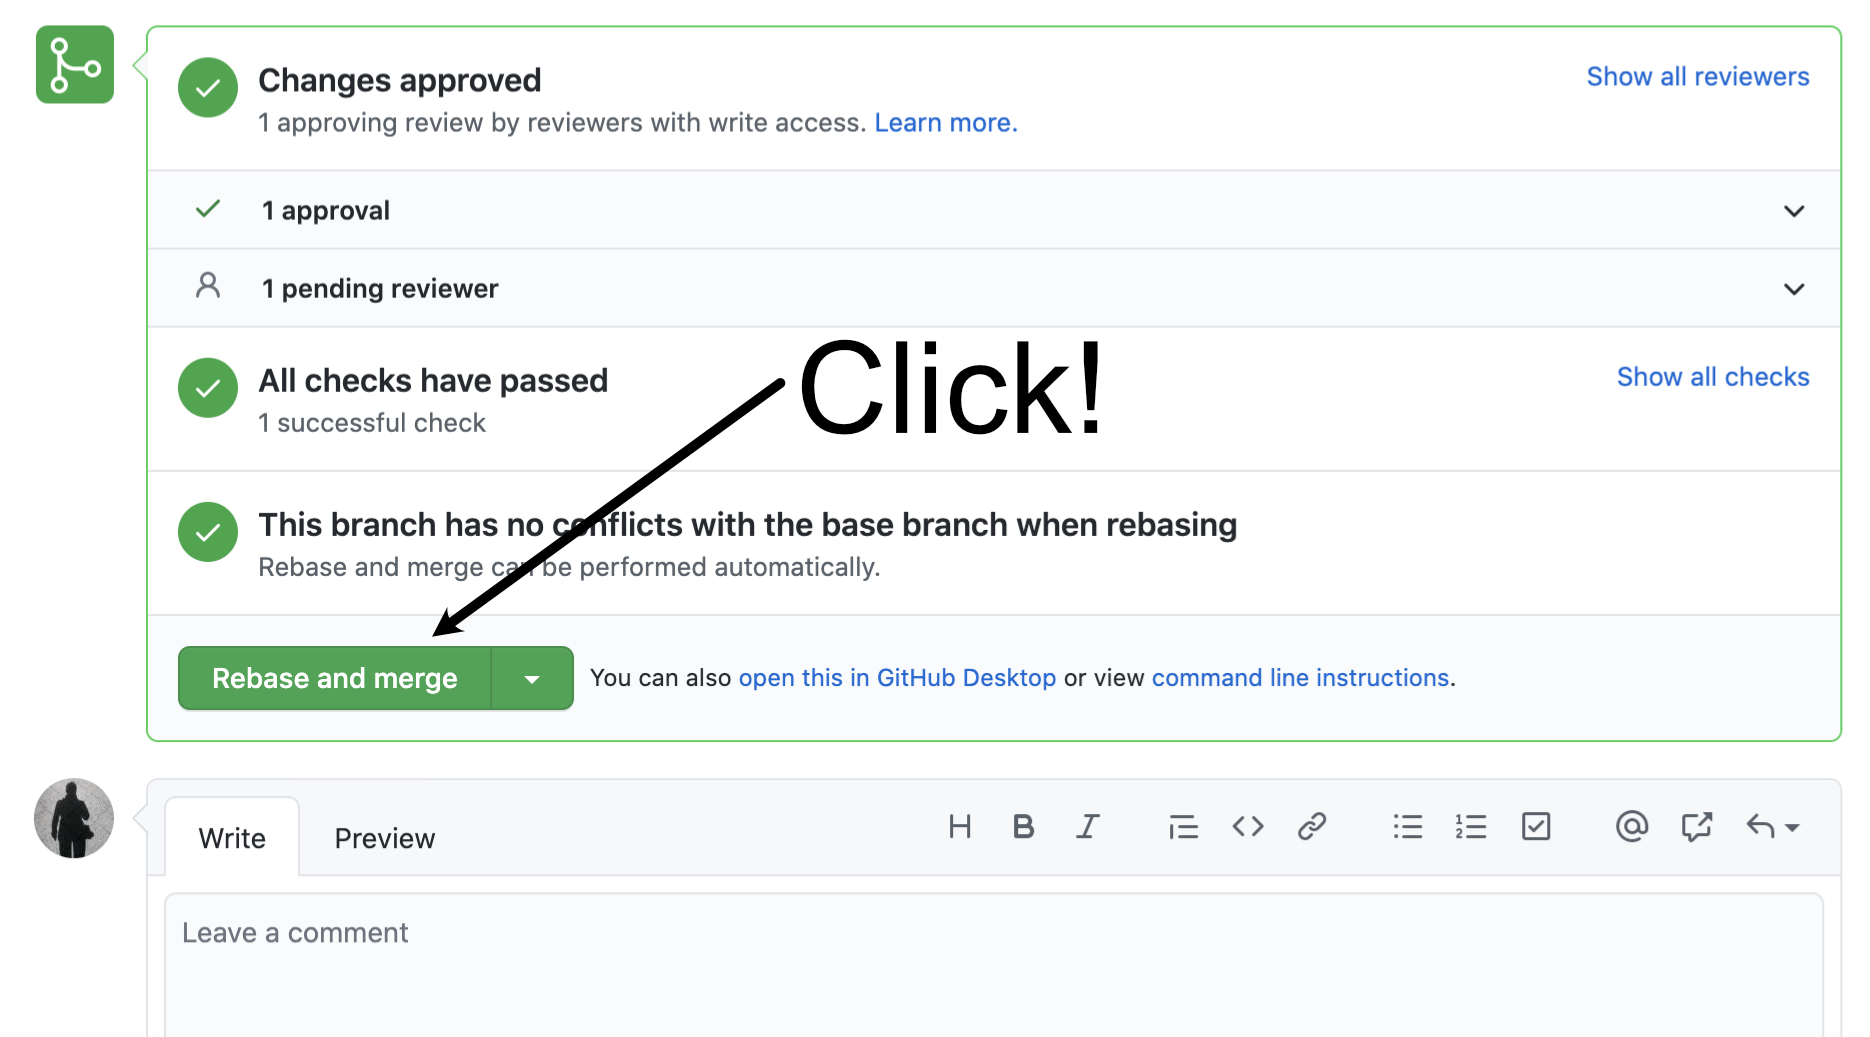
Reviewers will give you feedback and can give suggestions for improved wording. When your article is deemed to be ready, you can merge your article to the mainline, which kicks off the automated process to generate an updated version of our blog with your article:
Great job!